AS of late 2020, you no longer have to use Proxy Omega as NORDVPN has now ported over to Firefox and Chrome a NORDVPN plugin directly inside the browser so you can easily switch countries.
However, Proxy Switch Omega is still useful for managing all kinds of other manual proxy configs.
One the problems I have with VPN services is I would like to have only one web browser use the VPN service, but have another browser NOT use the VPN service at the same time.
Currently if you install NordVPN it has a great simple to use interface of a map of the world, and you click the country you want, and it proxies your connection through that country. However, the software forces ALL web browsers on the same Windows computer and Internet connection through the PROXY.
What we want to do, is have only 1 browser use the proxy, and that MUST BE Firefox, because ONLY Firefox has its own independent proxy settings outside of Windows proxy settings. All other browsers I have tried, Opera, Chrome, Edge, IE, ALL use the Windows proxy so that means any changes there, forces all those browsers to re-direct through the proxy.
With these settings you can have Firefox ONLY use your proxy, but everything else on the computer will use the normal connection.
The benefits of this are obvious, if I am at work, I can surf the web privately, check my email, look at the news, etc… but at the same time be doing my official business on my computer without disruptions and without tracking of my private information on Firefox by my company, ISP, or whomever. Firefox will run silently and independent on the computer using NordVPN.
In this article I will explain how you can setup Firefox Portable on a thumb drive, and take it with you wherever, plug it into any Windows PC, and start using it with your Nord VPN account while making absolutely NO modifications to the existing workstation you are using.
This is great for work computers, friends computers, the computer at the library or in public places.
Here is what the interface looks like for Firefox Portable with Proxy SwitchyOmega add-on configured for Nord VPN. Notice how I even have a Google Translater quick button, so I can proxy into any country I setup, have these countries on a list, and at the same time have Google Translate translate the target website in that countries language automatically translate to English.
This is very handy because when you proxy to a non-English speaking country, the first pages that come up, say Google will come up in that countries language, and its also fantastic for reading overseas news.
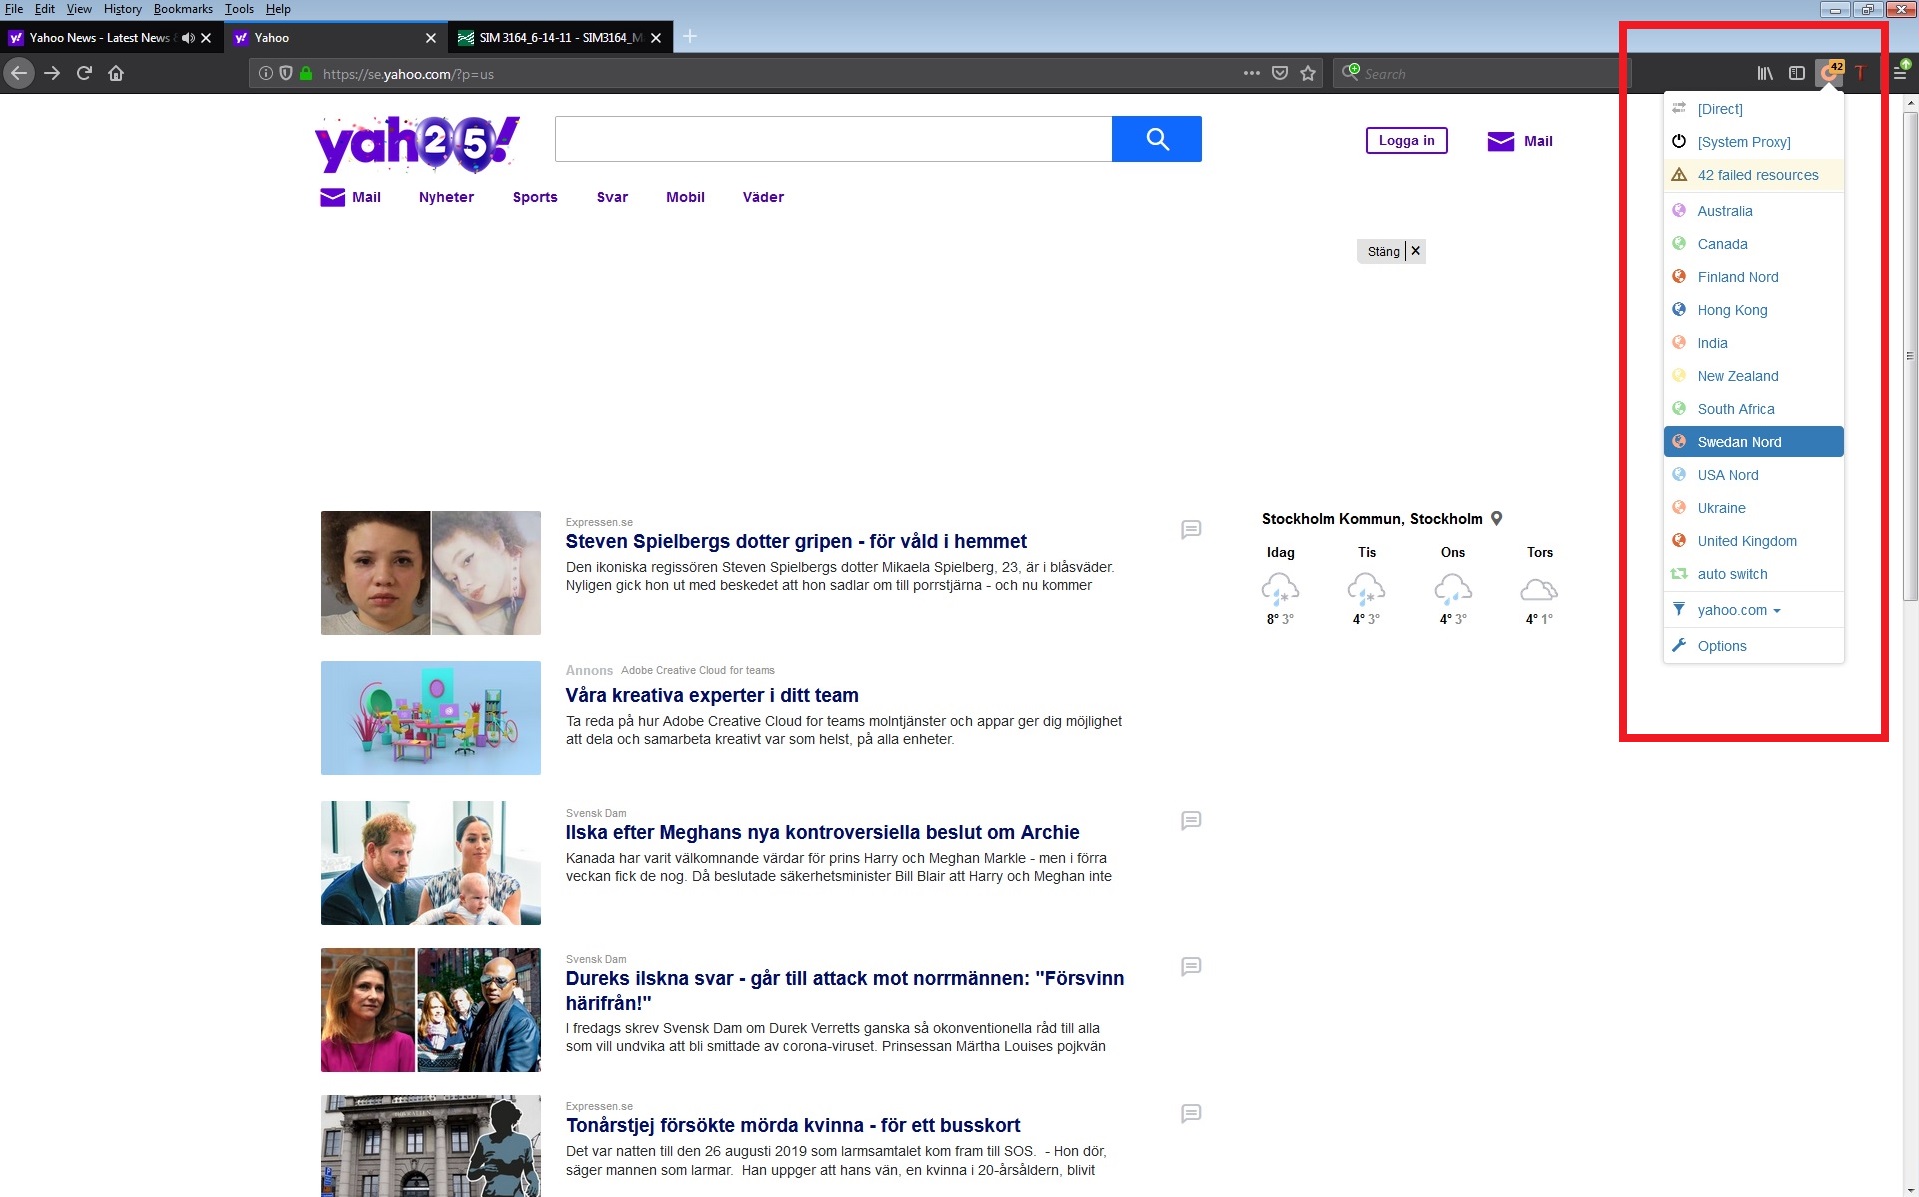
Notice the RED box. I have a drop down menu that shows the countries I want to PROXY through using NORD VPN. The Firefox add-on is called “Proxy SwitchyOmega”. You have to create each individual country within Omega Proxy, but its really easy and I will walk you through it.
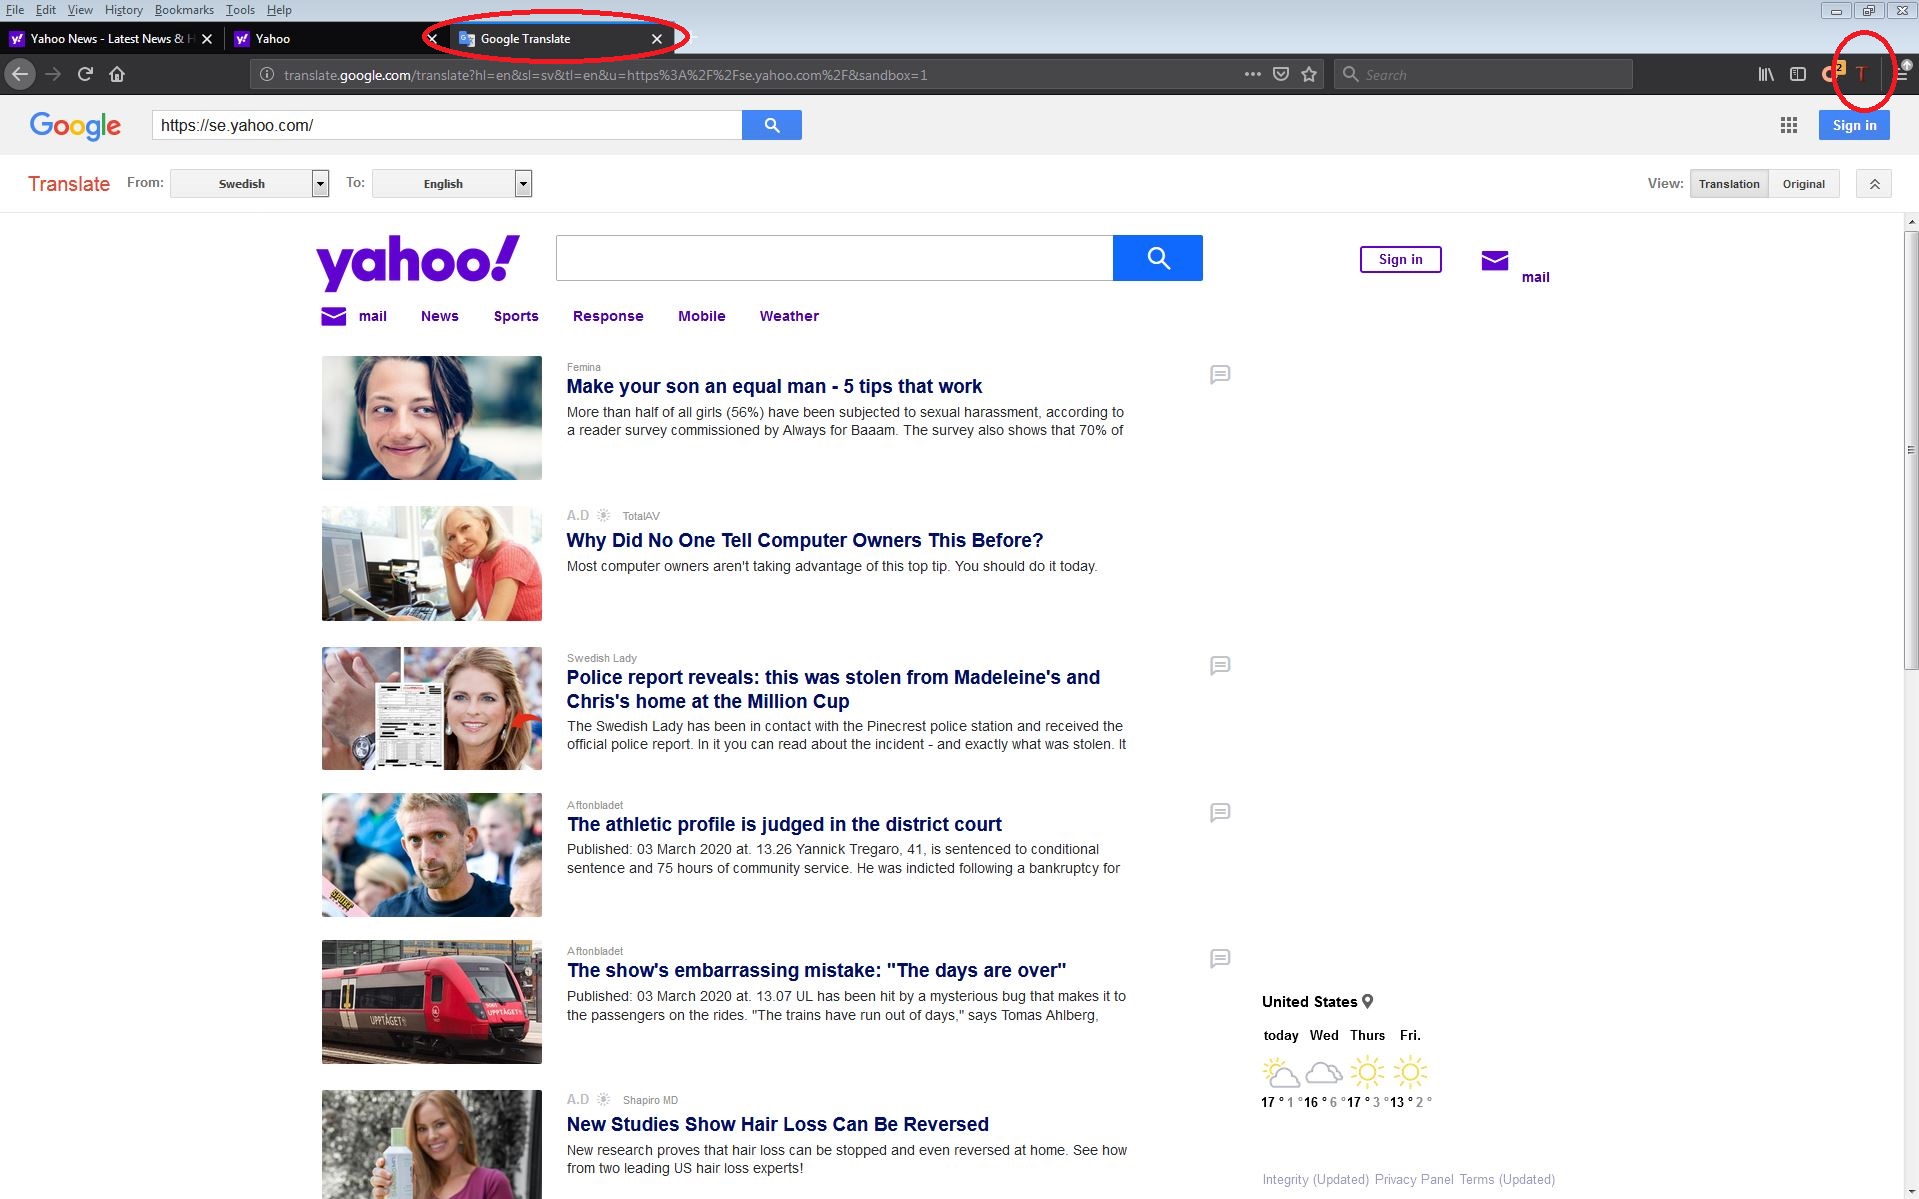
Notice when I clicked the T, thats a GOOGLE TRANSLATE plugin, called Google “Translater for Firefox” it automatically enters the page into Google Translate, then detects the language and presents to me a second translated page into English. This is very handy, however the tranlated page is just a picture, its not interactive, but still very handy and useful.
Here is my plug-ins page in Firefox.
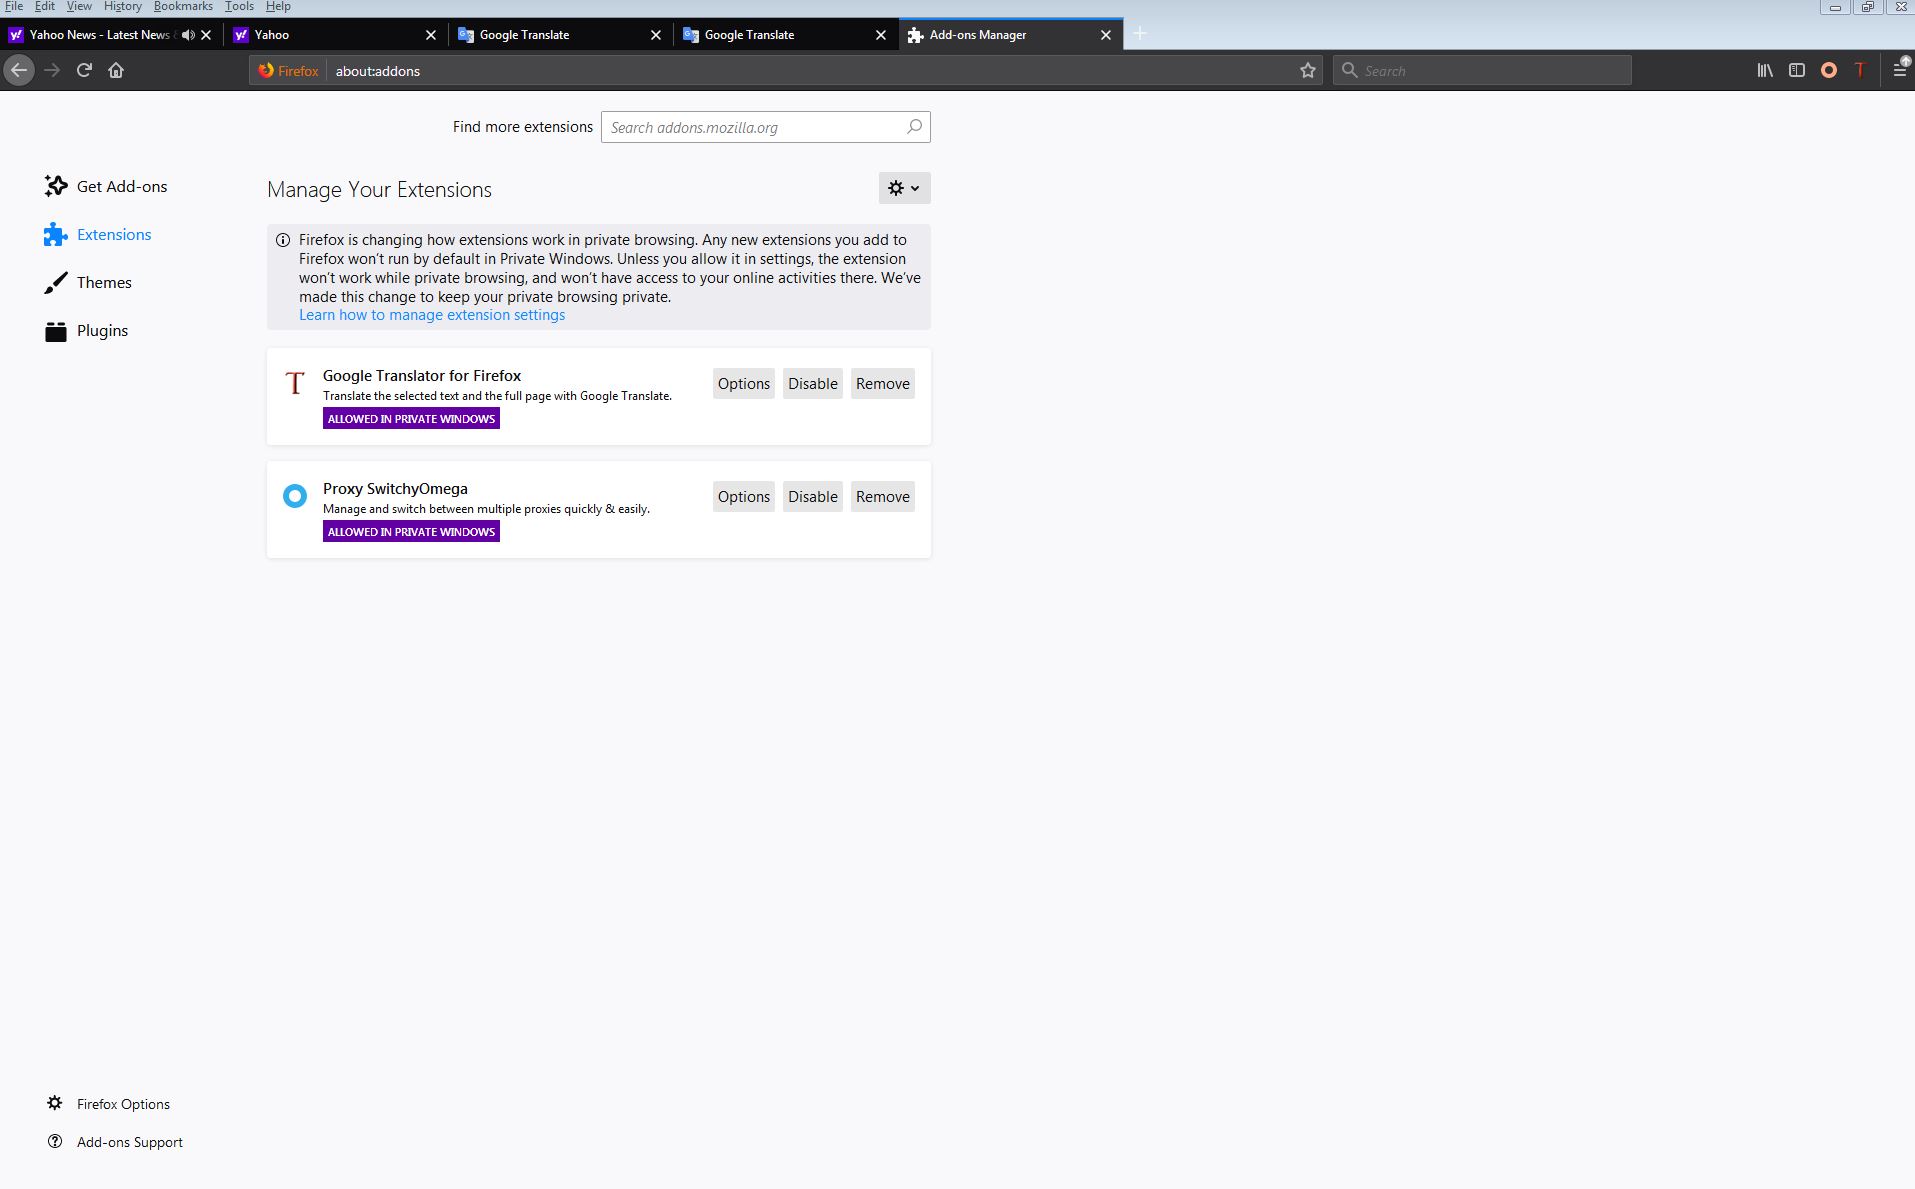
I have installed two plugins. Google Translator for Firefox and Proxy SwitchyOmega. You will also need Firofox portable.
So lets get started with the setup:
Step #1)
You will need to download Firefox portable first. Here is the link:
Firefox portable:
https://portableapps.com/apps/internet/firefox_portable
Click on the green box in the middle of the page that looks like this and download it to a temp folder or too a thumb drive. Click on the green box in the middle of the page on PortableApps website. The button looks like this below.

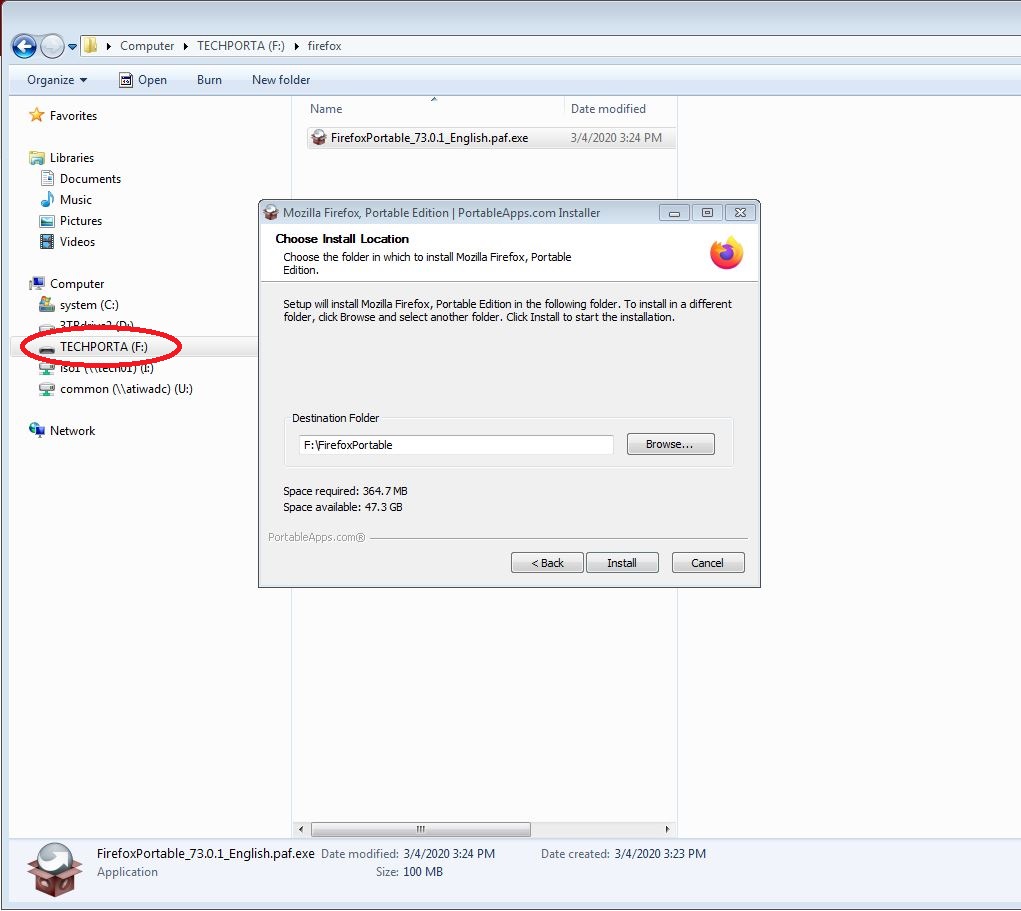
You will want to install it to a Thumbdrive but you can install it to the C: drive hard disk on any computer also if you don’t want it to be portable.
Download Firefox portable first, and then install it. After that, you will need to come back to the two links below using your new Firefox Portable that you just installed.
I installed it to drive F: That is the drive letter of my thumb drive
Installing …..tick ….tock…..tick…….tock……its going to be slower on a thumbdrive.
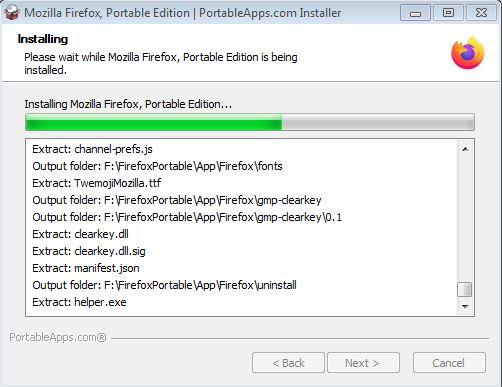
AFTER INSTALLATION RUN THE NEW FIREFOX PORTABLE FROM THE THUMBDRIVE
STEP #2)
Goto these links next with the new Firefox you just installed, and ADD these two add-ons to Firefox.
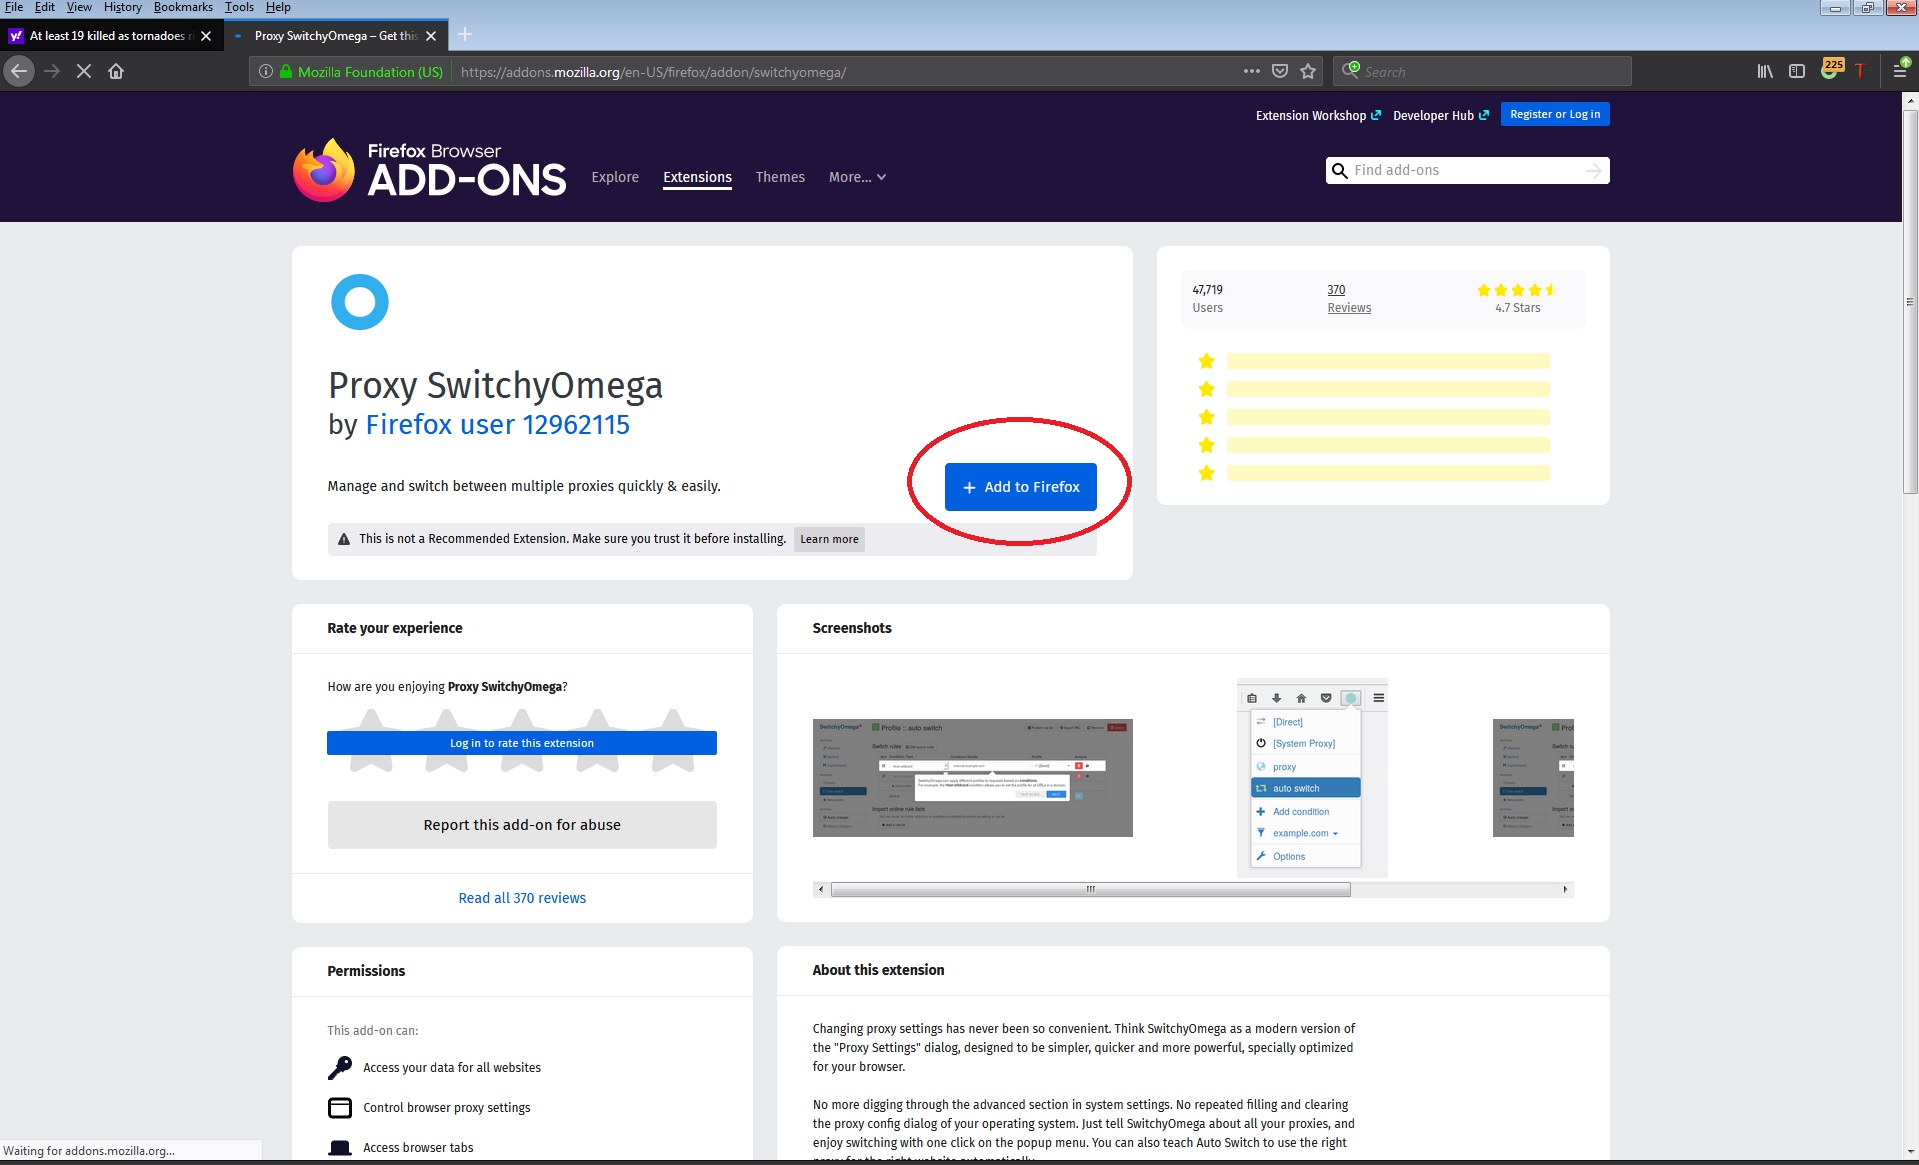
You will click the Blue Box in the middle of each page (+ Add to Firefox)
Here are the links:
Google Translator
https://addons.mozilla.org/en-US/firefox/addon/google-translator-for-firefox/
Proxy SwitchyOmega
https://addons.mozilla.org/en-US/firefox/addon/switchyomega/
You will need to add in these two addons, one for switching proxies, or you can use the New NordVPN proxy switch add-on.
Once you have Google Translator installed, you can use your proxy software to goto the foreign website of your choice and click on the T in the upper corner and translate it directly to English.